Understanding Carbon Monoxide Risks and Detection
Carbon monoxide (CO) is often called the “silent killer”. It’s an invisible, odorless, and tasteless gas that can be produced by any fuel-burning appliance in your home, including furnaces, gas stoves, fireplaces, and water heaters. Unlike smoke, which you can see and smell, CO provides no immediate warning signs. When inhaled, it displaces oxygen in your bloodstream, leading to symptoms that can easily be mistaken for the flu, such as headaches, nausea, and dizziness. The Centers for Disease Control and Prevention (CDC) reports that over 400 people in the U.S. die from unintentional CO poisoning annually, making proper CO detector installation a life-saving necessity.
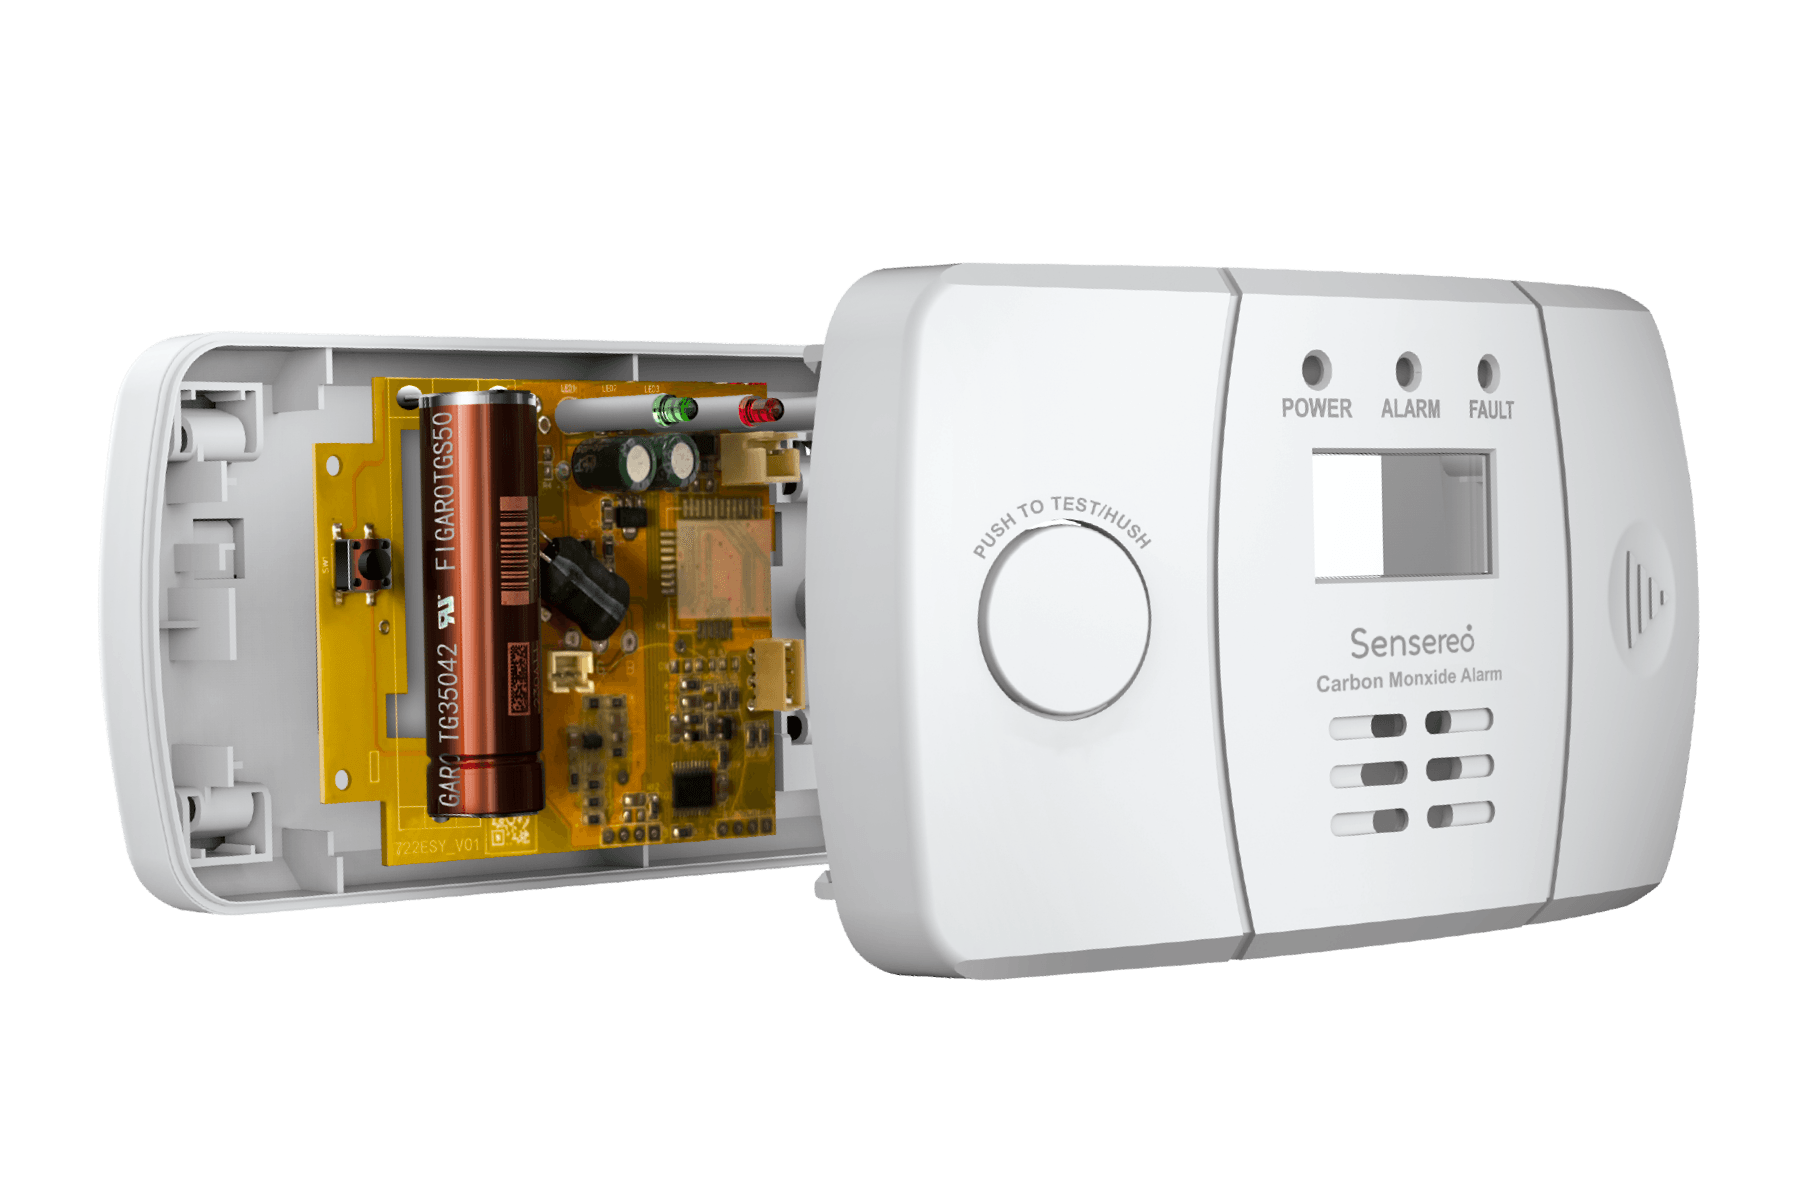
To combat this invisible threat, modern CO detectors use advanced electrochemical sensors. These sensors are designed to react specifically to carbon monoxide gas, offering a highly accurate and sensitive way to detect even low levels over time. Fire Captain Diaz notes, “Install CO alarms with electrochemical sensors—they’re 3x more accurate than older models.” This accuracy is what separates a quality best carbon monoxide detector from an inferior one and can be the difference between a timely warning and a tragic outcome.

Key Considerations Before Installation
Before you decide to tackle the installation yourself or hire a professional, it’s vital to understand the different types of detectors and how your home’s layout impacts your needs.
Detector Types
Your choice of a CO detector will largely depend on your home’s setup and your personal preferences.
- Battery-operated CO detectors: These are the simplest to install. Because they are not connected to your home’s electrical system, you can place a battery-operated carbon monoxide detector anywhere you need it, which is ideal for older homes or renters. However, they require you to stay on top of maintenance, including regular testing and replacing the batteries at least twice a year.
- Hardwired models: These detectors are connected directly to your home’s electrical wiring. They’re more reliable because they draw power continuously. Most hardwired units also come with a battery backup to ensure they remain functional during a power outage. They are most commonly installed during new construction or major renovations.
- Smart detectors: These devices offer an extra layer of protection. A smart CO detector can connect to your home Wi-Fi network and send alerts directly to your smartphone, no matter where you are. Some can even integrate with your security or smart home system, allowing for a synchronized response to an emergency.
Home Layout Factors
The size and layout of your home directly influence how many detectors you need and where to place carbon monoxide detectors. A single unit isn’t enough for an entire home.
| Home Size | Detectors Needed |
| 1-floor | 1 near bedrooms |
| 2+ floors | 1 per level + basement |
Beyond the basic requirements, you also need to consider high-risk areas in your home. Any space containing a fuel-burning appliance is a potential source of CO. This includes rooms with a gas furnace, fireplace, or a gas-powered water heater. If you have an attached garage, a detector should be placed in the room directly connected to it, as car exhaust is a common CO source.
DIY Installation: Step-by-Step Guide
For those comfortable with basic tools and a ladder, installing a battery-operated carbon monoxide detector yourself is a straightforward process that can save you money.
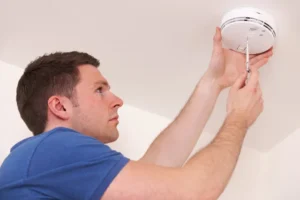
Optimal Placement: The first step is to identify the best locations for your detectors. The key is to place them at the right height and in the correct rooms. Install a unit on every level of your home, especially in hallways just outside sleeping areas. The ideal height is about five feet from the floor roughly at breathing level. Avoid placing detectors in corners or near windows, as this can impede airflow and prevent the sensor from working properly.
Avoid Common Mistakes: When you install your CO detectors, be sure to avoid these common errors:
Putting them in dead air spaces: These are areas where air doesn’t circulate well, such as corners of rooms, which can prevent the alarm from detecting CO in time.
Installing only one unit: A single detector is not enough to protect a large or multi-story home. A comprehensive safety plan requires multiple detectors.
Forgetting to test monthly: The most reliable detector is a tested one. Make it a habit to press the test button every month to ensure it’s functioning correctly.
Professional Installation: What You Get
For a greater sense of security and peace of mind, professional installation is an excellent investment. A certified technician brings expertise that goes beyond simply mounting a device on the wall.
Code-Compliant Placement: Professionals are well-versed in local building codes and the National Fire Protection Association (NFPA) guidelines. They know precisely where to place carbon monoxide detectors to maximize your safety, taking into account your home’s specific layout and potential risks. This ensures your system is not only effective but also meets legal safety standards.
System Integration: Technicians can seamlessly integrate your new CO detectors with your existing security system or smart home platform. This allows for advanced features like synchronized alarms and remote notifications, which is an invaluable asset.
Warranty and Service: Many professional installers offer a warranty on both the equipment and their service. This can include sensor replacement and peace of mind for years to come.
Cost Comparison: DIY vs. Pro
When it comes to cost, the choice between DIY and professional installation is a straightforward trade-off between upfront savings and long-term peace of mind.
| Factor | DIY | Professional |
| Equipment Cost | $20-$50 per unit | $50-$150 per unit |
| Installation Time | 1-2 hours | <1 hour |
| Long-Term Accuracy | ★★★☆☆ (Reliant on user maintenance) | ★★★★★ (Expert-certified) |
While a DIY approach offers significant savings on labor, it places the full responsibility for correct installation and ongoing maintenance on you. Professional installation is a greater initial investment, but it buys you a certified, code-compliant system and the confidence that your home is protected by experts.
Maintenance & Replacement
Regardless of who installs your detectors, all units require regular maintenance to remain effective. This is especially true for a battery-operated carbon monoxide detector.
Monthly Test: Get into the habit of pressing the “test” button on each detector once a month. This confirms the alarm is working and the battery has enough power.
Bi-Annual Battery Changes: For battery-powered units, replace the batteries at least twice a year, typically when you change your clocks for daylight saving time.
Full Replacement: CO detectors have a limited lifespan. The sensor inside degrades over time and loses its sensitivity. Most manufacturers recommend you replace CO detector units every 5-7 years. Some units will even emit a specific “end-of-life” chirp to let you know when it’s time for a new one. Ignoring this warning could leave your family unprotected.
Making the Right Choice
Choosing between a DIY and a professional installation for your best carbon monoxide detector boils down to your comfort level and your home’s needs.
Choose DIY If You:
Have a small, simple home layout.
Are comfortable following instructions and using basic tools.
Are disciplined enough to commit to a strict monthly testing and bi-annual battery replacement schedule.
Hire a Professional If You:
Own a multi-level home or have a complex layout.
Want your detectors to be integrated with a security or smart home system.
Prefer the peace of mind that comes with expert, code-compliant installation and a professional guarantee.
Ultimately, the most important decision is not who installs the detector, but simply making sure you have them.
FAQ
Q: How often should I test my CO detector?
A: You should test your detector monthly using the test button. If you have a battery-operated carbon monoxide detector, it’s also a good practice to replace the batteries twice a year, such as when you change your clocks for daylight saving.
Q: What’s the ideal height for CO detector installation?
A: The ideal height for a CO detector is at breathing level, about five feet from the floor. Contrary to a common misconception, CO is slightly lighter than air at room temperature and mixes evenly, so placing it high on the wall is effective.
Q: Can I install CO detectors in my kitchen?
A: No, you should keep CO detectors at least 15 feet away from cooking appliances, furnaces, and other combustion sources to avoid false alarms. Instead, place them in adjacent hallways or rooms to ensure they are close enough to detect a leak but far enough away from routine emissions.
Q: Why do I need to replace my CO detector?
A: The sensor inside a CO detector has a limited lifespan and becomes less accurate over time. Most manufacturers recommend you replace CO detector units every 5-7 years, even if they appear to be working. Some alarms have an end-of-life indicator or a distinct chirp to let you know when it’s time for a replacement.